- Как правильно выбрать забор из штакетника?
- Виды штакетника для забора
- Металлический штакетник для забора
- Деревянный штакетник
- Комбинированный штакетник
- Как сделать забор из штакетника своими руками?
- Шаг 1 –Подготовка стройматериала и инструментов
- Шаг 2 – Планировка и подготовка опор для ограждения
- Шаг 3 – Монтаж секций ограждения
- Фото примеры заборов из штакетника
- Статья
- Видео
Как правильно выбрать забор из штакетника?

Забор из штакетника своими руками
Для того, что бы правильно выбрать забор из штакетника, необходимо учитывать не только материал, из которого он будет сделан (дерево, металл, пластик и т.д.), но и его главное предназначение.
Не стоит забывать, что ограждение в первую очередь является защитой от проникновения посторонних на приусадебную территорию, а потом уже выступает как декоративный элемент садового участка.
Высота штакетника не должна быть чересчур большой, т.к. испортится эстетичный вид и образуется большая тень над огородом, в результате чего плоды перестанут разрастаться и приносить урожай.
Так же следует обратить внимание на то, что штакетник может быть не только в качестве ограждения двора, но и как ограда цветника внутри сада, а так же вольера для собаки либо зоны отдыха.
Виды штакетника для забора
Наиболее популярными видами штакетника являются:
- Металлический штакетник
- Деревянный штакетник
- Пластиковый штакетник
Рассмотрим достоинства лидеров данных материалов ограждения – металла и дерева.
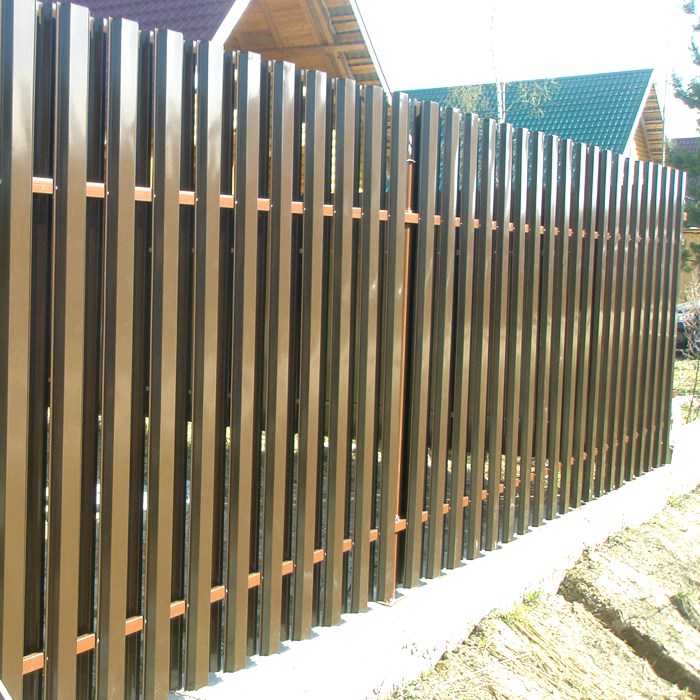
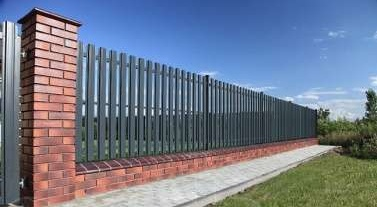
Металлический штакетник для забора

Металлический штакетник для забора
Забор из металлического штакетника является наиболее элегантным и прочным. Данный материал хорошо сочетается с различными садовыми стилями, гармонично дополняя дизайн приусадебного участка. Сталь, из которой изготавливается штакетник, имеет толщину от 0,5 до 2 мм. Поверхность металлического штакетника покрывается специальным антикоррозийным средством, содержащим алюминий и цинк, после чего обработанный материал окрашивают полимерной (либо полиэфирной) порошковой краской. Производители металлического штакетника предоставляют широкий ассортимент типа профиля: W-образный, П-образный, V-образный, который можно приобретать как поштучно, так и секциями. Стандартная ширина металлических планок колеблется в пределах 100-140мм.
Основные достоинства металлического штакетника:
- Прочность
- Долговечность
- Широкий ассортимент цветов
- Простота монтажа и ухода
- Отсутствие дополнительных затрат при эксплуатации
- Возможность установки освещения и систем видеонаблюдения
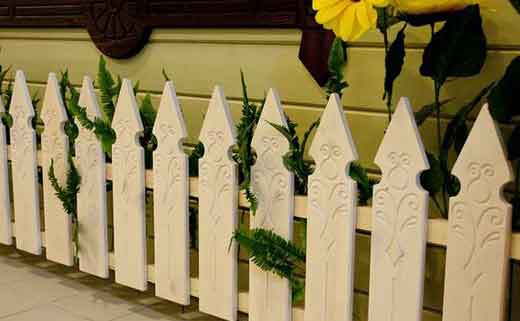
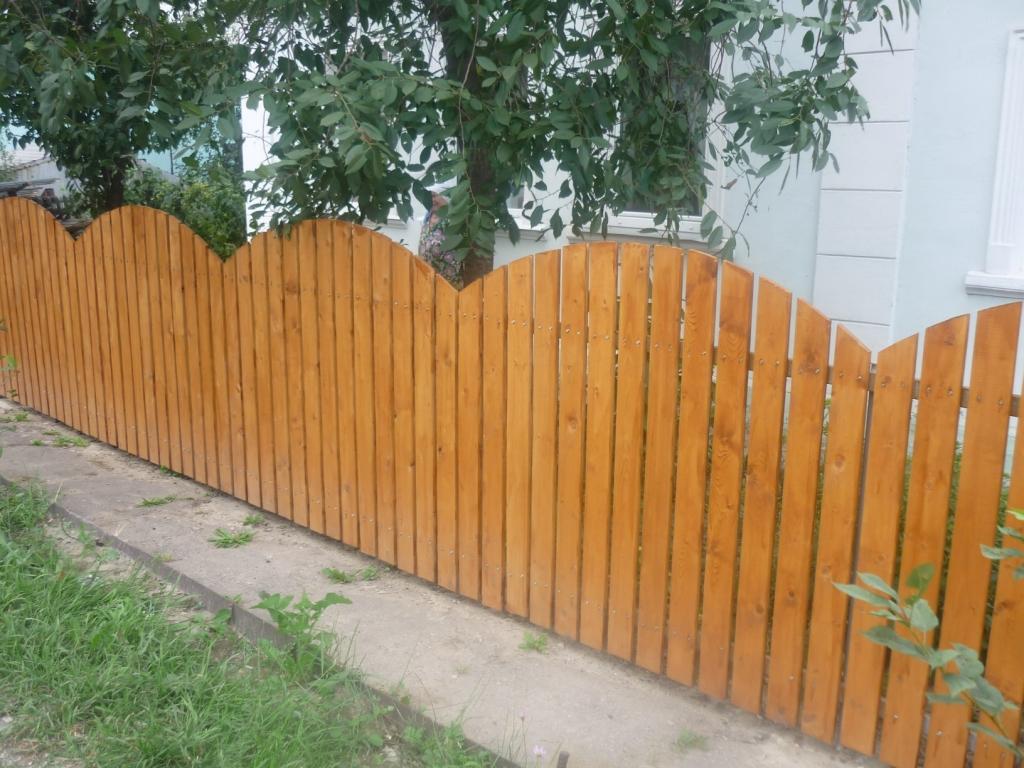
Деревянный штакетник

Деревянный штакетник
Возведение деревянного штакетника на дачном участке пригодится хозяевам , которые ценят экологическую чистоту окружающей среды. Данный вид ограждения является более дешевым и в то же время не менее привлекательным. Единственный недостаток деревянного штакетника – небольшой срок службы – до 15 лет (к примеру, у металлического штакетника данный показатель достигает 20 лет), хотя на сегодняшний день существует множество антисептических средств, которые заметно продлевают срок службы древесины, тем более, если выбирать такие сорта дерева как березу либо дуб.
Стоит заметить, что большинство дачников Европы выбирают именно деревянный штакетник, придерживаясь классического стиля ограждений.
Достоинство деревянного штакетника:
- Экологичность
- Быстрота монтажа/демонтажа
- Разнообразия форм планок
- Эстетическая привлекательность
- Универсальность и надежность
- Дешевизна
Так же забор из деревянного штакетника послужит отличным украшением декора садового участка, если его украсить при помощи резьбы по дереву, металлических навесок для опорных стоек, медных гвоздей с фигурными шляпками и т.д. Еще один весомый плюс – сочетание деревянного штакетника с любыми другими материалами, особенно с природным камнем и расшиточным кирпичем.
Комбинированный штакетник

Комбинированный штакетник
Весьма гармонично и оригинально можно украсить лицевую часть приусадебного участка при помощи комбинированного штакетника. Комбинация заключается в том, что основание забора и опорные столбы создаются из кирпича либо строительного блока, а пространство для секций заполняют металлическим или деревянным штакетником. Нелепые строительные блоки в дальнейшем украшают фасадной плиткой либо расшивочным декоративным кирпичом. Главное достоинство комбинированного забора – долговечность и простота монтажа/демонтажа (т.к. непригодные планки можно легко заменить).
Как сделать забор из штакетника своими руками?
Предоставим вам несложную пошаговую инструкцию создания забора из штакетника своими руками:
Шаг 1 –Подготовка стройматериала и инструментов
Необходимыми для сооружения забора материалами являются:
- Готовые планки штакетника либо доска автоклавной пропитки для планок (ширина 80-90 мм, толщина 25мм)
- Деревянный брус 100*100мм (для опорных столбов)
- Доска 100*40мм (для горизонтальных секционных стяжек)
- Цемент, песок, щебень
- Монтажный клей
- Болты с гайками и шайбами, саморезы, оцинкованные анкера
- Жестяные либо асбестовые стаканы (для создания лунок в грунте под опорные столбы)
Среди инструментов можно использовать рубанок, отвертку и ручную пилу, но тогда процесс установки забора займет не один день работы, поэтому, что бы ускорить процесс рекомендуется обзавестись следующими инструментами:

Необходимые инструменты
- Электрорубанок
- Электролобзик
- Шуруповерт
- Электродрель
- Ручной электропривод для фрезы
- Колышки и веревка для разметки
- Строительный уровень
- Молоток
- Лопата
- Ручной бур
- Клещи
Шаг 2 – Планировка и подготовка опор для ограждения

Планировка и подготовка опор для ограждения
Для начала размечаем будущую линию забора при помощи веревки и колышков, отнестись к этому следует серьезно, т.к. ограждение должно быть идеально ровным.
Далее переходим к рытью ямы и заливанию опорных столбиков под ограждения. План действий такой:
- В грунте вырываем ямы, глубиной 20-25 см, на расстоянии, равном длине одной секции
- Делаем бетонный раствор из цемента (марки М300), песка и щебня, в соотношении 1*2,2*3
- В каждую яму устанавливаем асбестовый стакан с анкером (стакан должен стоять строго вертикально)
- Заливаем бетонный раствор и оставляем его застыть на несколько дней (не менее 3)
Так же рекомендуется использовать для основания ограждения ленточный фундамент, но только в этом случае нам предстоят тяжелые строительные работы: вырывание ямы, установка опалубки, арматурного каркаса и т.д.
Шаг 3 – Монтаж секций ограждения

Монтаж секций ограждения
В то время, когда бетонный раствор будет застывать (а это целых 3 дня), рекомендуется не терять времени и переходить к изготовлению секций забора и опор. В том случае, если вы решили создавать своими руками даже планки штакетника, необходимо будет использовать электролобзик, для того, что бы вырезать планку определенной формы. После того как вырезали первую планку, дальше дело пойдет быстрее: просто по образцу вырезаем остальные экземпляры, не забывая шлифовать их с плоскостей и торца (при помощи электрорубанка это не займет много времени).
Далее переходим к подготовке деревянных опор. Деревянный брус разрезаем на отрезки необходимой длины, делаем в нем торцевые отверстия под анкер (при помощи дрели) и фрезой вынимаем место для крепежных гаек. После этого незабываем ошлифовать бруски и установить в, вынутых фрезой местах, гайки при помощи монтажного клея.
Как только раствор окончательно застынет необходимо приступить к завершающей работе, а именно:
- Накрутить опоры на анкера
- Вырезать в опорах специальные пазы для горизонтальных планок
- Закрепить горизонтальные планки при помощи болтов либо саморезов
- Установить вертикальные планки (лучше всего использовать шаг в половину ширины планки).
- Окрасить готовый забор из штакетника лаком либо краской.
Вот, собственно, и все, постройка забора из штакетника своими руками завершена. Быстро, просто, дешево, а главное собственноручно!
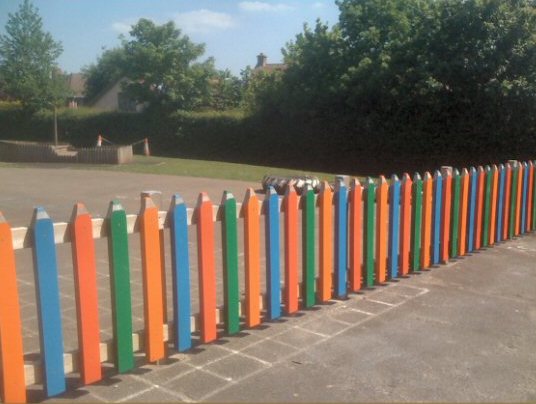
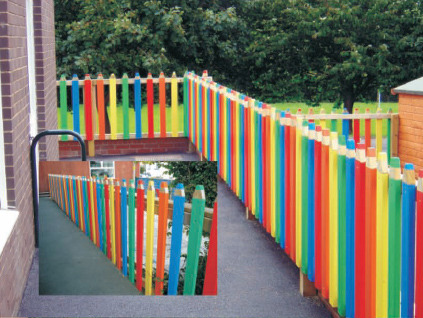
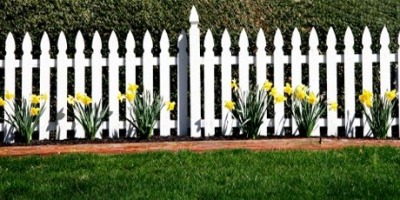
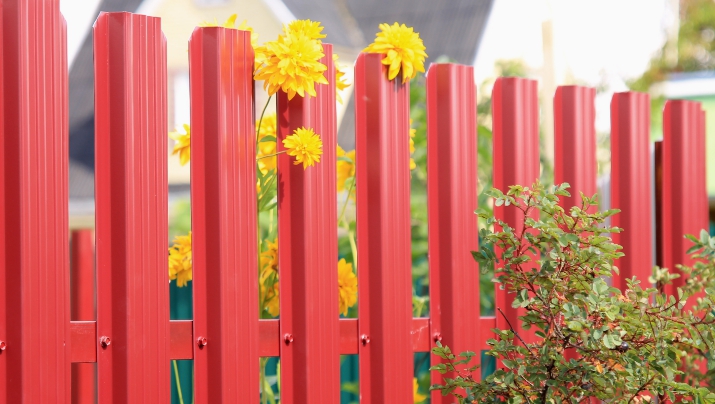
Фото примеры заборов из штакетника
-
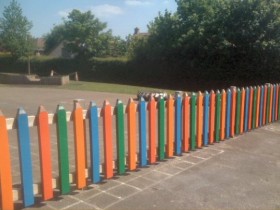
- Забор из штакетника своими руками
Рекомендуем так же ознакомиться со статьей: как правильно сделать забор из профнастила своими руками!
На видео изготовление забора из профнастила.